Brand photography: a beginner’s guide
By Maris Ava Cruz
Let’s start with two simple facts: 1. Building a brand is hard. 2. Photography is hard, too.
Putting those two facts together–brand photography–can seem daunting, but with the right equipment and techniques, you can take fantastic branded photos in a snap – excuse the pun.
Brand photography: your equipment
- Digital Single-Lens Reflex (DSLR) Camera
- In theory, you could use any camera to take your business’ photos, but the methods we’ll be talking about today are much more easily achieved with a DSLR. The Canon Rebel series is recommended, as these are much more affordable and made for beginners while still having most of the same functions as a higher-end professional camera.
- Camera lens
- The great thing about DSLRs is that you can choose the settings applied to your photos (more on that later). Your lens can affect those – choosing a 50 prime lens is best. This means your focal length will be 50mm, so no need to worry about zooming in or out, and your f-stop will be either a 1.4 or 1.8. If f-stop doesn’t make sense, that’s OK, it’ll be explained in a bit.
- Product
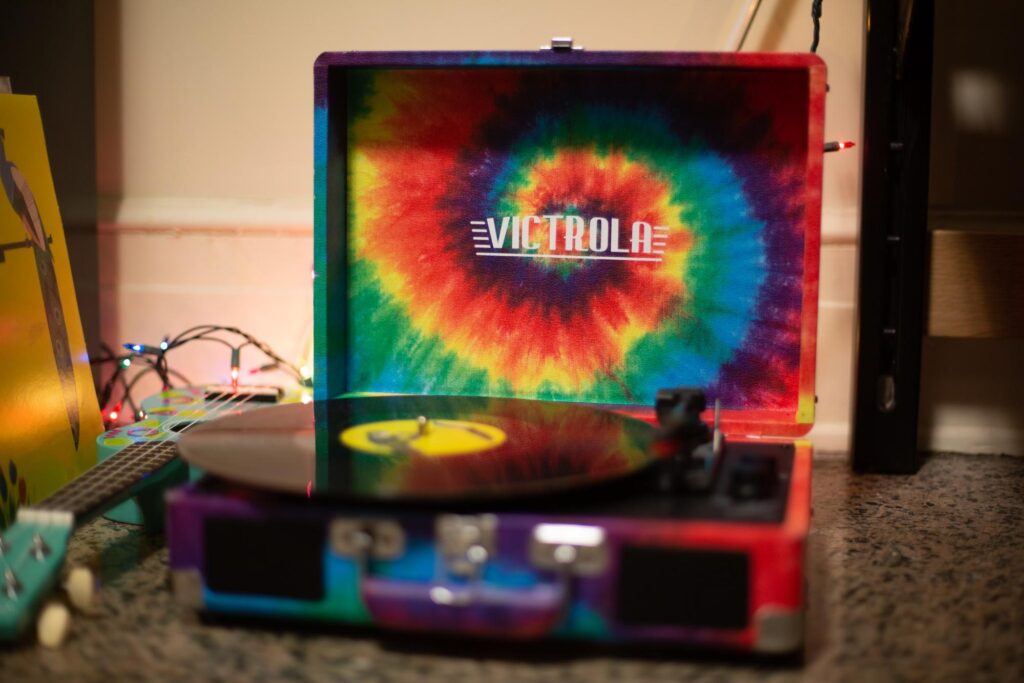
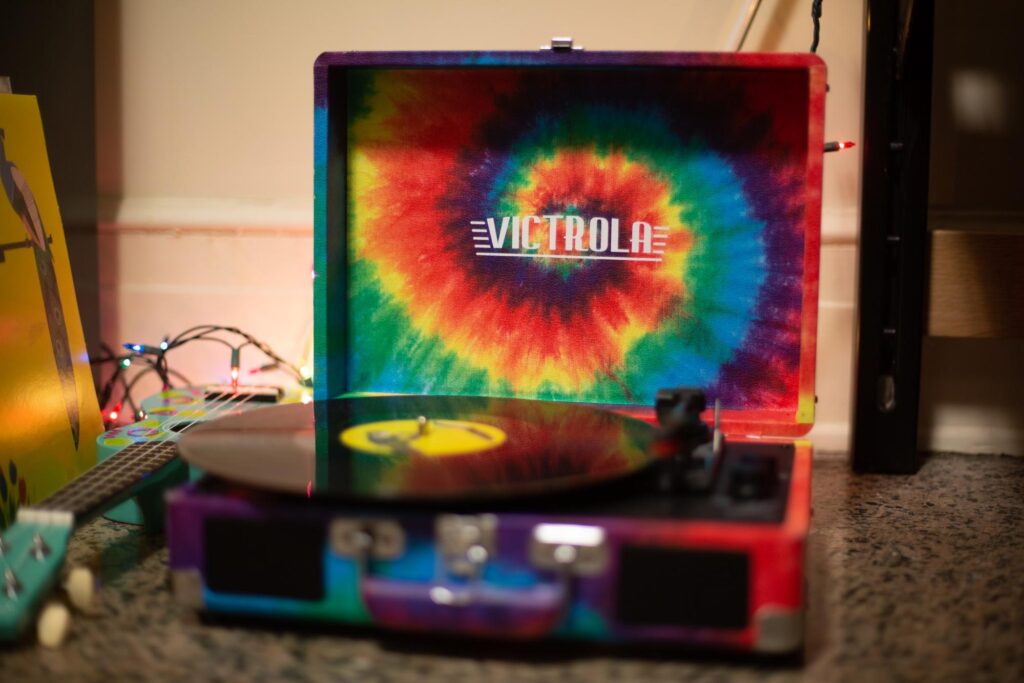
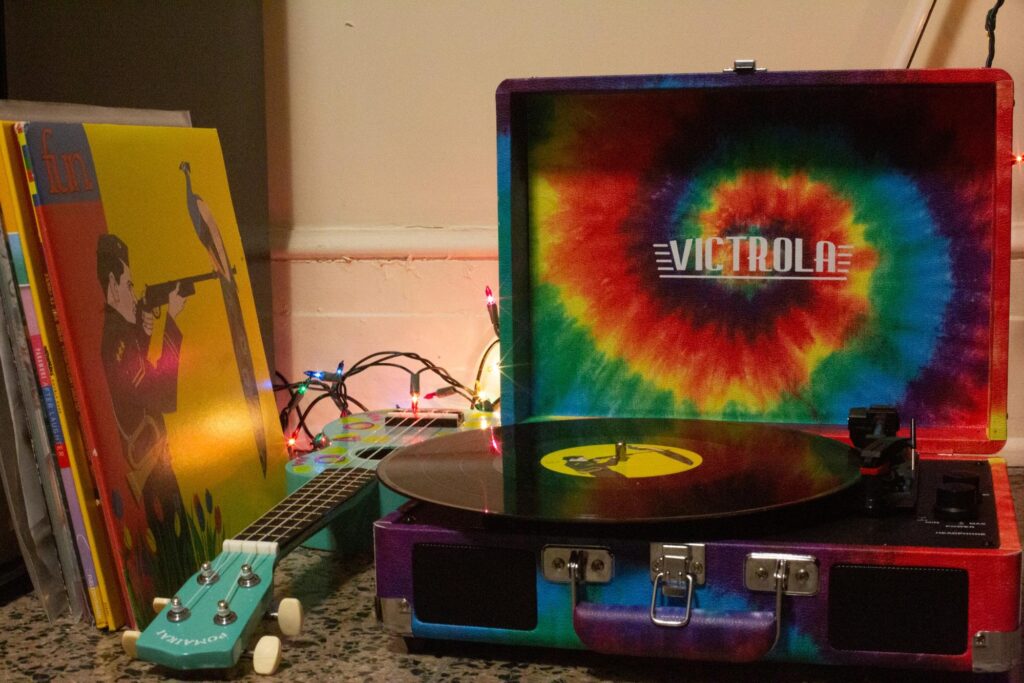
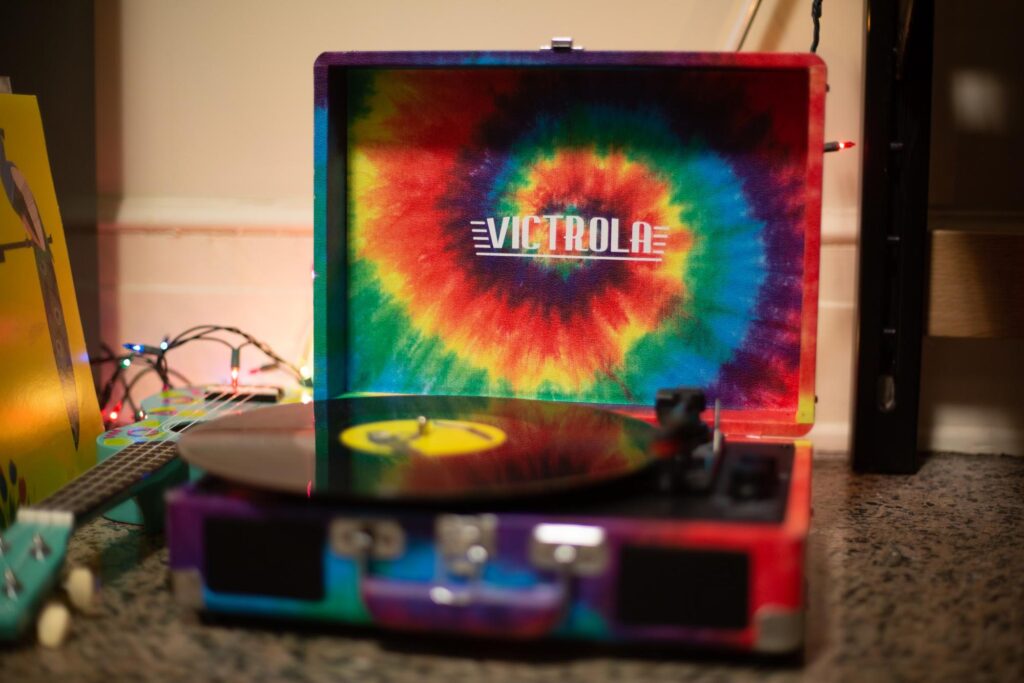
- This might seem obvious, but you can’t shoot product photos without a great product. The examples in this article used a record player as the product.
Brand photography: camera settings
To get the best photos with the most intentional effects, manual shooting is required. This can be incredibly daunting for people, especially if you’re new to the world of photography. But shooting on manual isn’t as bad as it seems once you know what you’re doing. To get to a point where manual shooting is comfortable, read on for more about each camera setting you can control to get the best shot possible.
ISO
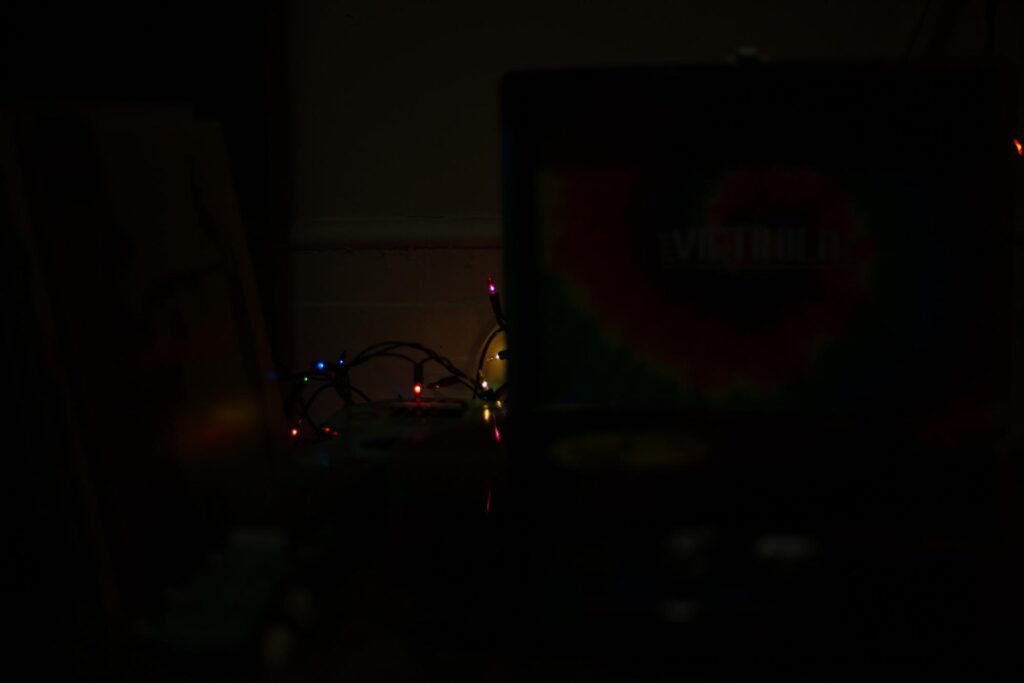
Your camera’s ISO determines its light sensitivity. If it’s bright, you’ll want to have a lower ISO. Bright afternoon daylight can even necessitate an ISO of 100. The opposite is also true: If you’re in a darker setting, you’ll need a higher ISO. But beware of “noise” or fuzz in your image at higher ISOs. Generally, once your ISO is set, you won’t change it unless you move to a new location. A good middle-of-the-road ISO is 400. This setting is often appropriate for indoor and outdoor lighting.
F-Stop
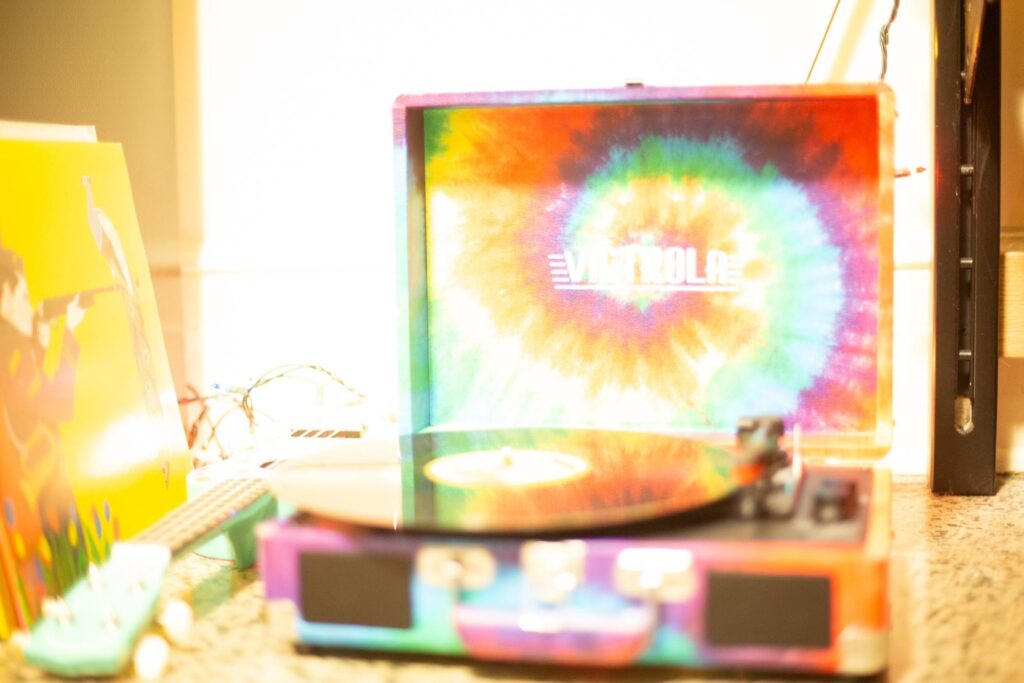
The next setting you’ll want to get in place is your f-stop or aperture. This will determine how open your camera’s lens is, which in turn impacts how much light gets into your camera. Conversely from ISO, a lower f-stop like 1.4 or 1.8 will let in more light and make your photo brighter. A high f-stop, like the standard maximum of 22, will make your photos darker.
An important consideration about f-stop is that it also controls your depth-of-field, or the amount of background blur. A shallow depth of field at a low f-stop (1.4 1.8) shows a focus on only the main subject, whereas a wide depth of field at a high f-stop (8, 22) will show more aspects of the photo clearly.
Shutter speed
Now on to shutter speed. The shutter speed of your camera determines how the hole in the camera is open, and thus how much light is allowed in for each shot. Shutter speed can be seen as a fraction. A shutter speed of 1000 is 1/1000 of a second, 800 is 1/800 of a second, 30 is 1/30 of a second and so on. Generally, you don’t want to set your shutter speed slower than 1/15 or 1/30 unless you are photographing a still object and have a tripod. Faster shutter speeds are ideal – 100 and above let in less light, but as a rule of thumb your camera’s light meter should always be centered.
Time to shoot
Finally, after you’ve adjusted your settings, it’s time to take your photos. Lighting, interesting posing and color are important things to consider here: what is your brand? What is your product? What story does it tell?
We’ll discuss these issues and more next time, but until then, the 1893 Brand Studio has a full-service Multimedia Team ready and willing to help potential customers engage with your business and product. If you’re interested in services from the Brand Studio, please visit our website here.

